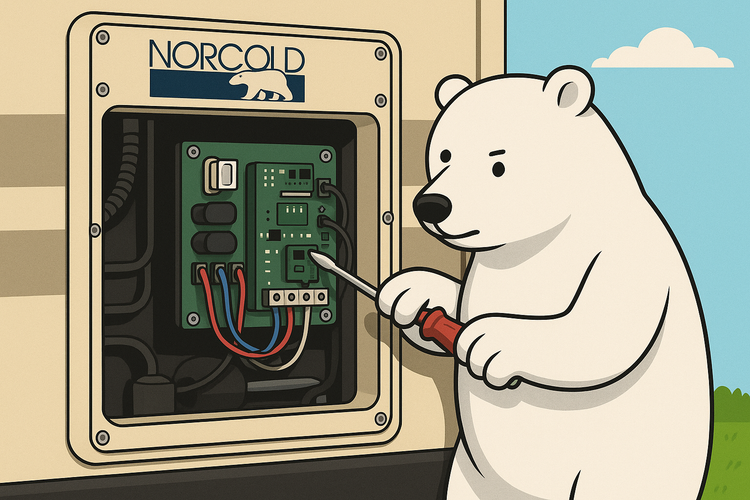
How to Replace Your Norcold Power Board (Step-by-Step Guide!)
Posted by Brian on 22nd Oct 2025
How to Replace Your Norcold Power Board (Step-by-Step Guide)
If your Norcold RV refrigerator has stopped cooling or refuses to power on, the issue might be a bad power board. This small circuit board controls your fridge’s electrical functions — and luckily, it’s easy to replace with just a few tools and a little patience. In this guide, we’ll walk you through how to replace your Norcold power board step-by-step so you can get your RV fridge running like new again.
If your RV refrigerator suddenly stops cooling or shows error codes, a faulty power board could be the culprit. Luckily, replacing your Norcold power board is a straightforward DIY job. Follow these steps to safely swap it out and get your fridge back to chillin’.
Step 1: Access the Back of the Refrigerator
Start by removing your outside refrigerator access vent. This panel is located on the exterior of your RV behind your fridge. Once removed, you’ll see the power board cover mounted near the bottom of the refrigerator.
Step 2: Remove the Power Board Cover
The cover is typically held on by three or four screws. Unscrew these and gently lift off the cover to expose the wiring and the board itself.
Step 3: Take a Reference Photo
Before removing any wires, take a clear picture of the board. This will be your reference when reconnecting the wires to the new board later on. Each connection is labeled, but a quick photo can save you a headache if anything gets mixed up.
Step 4: Disconnect Power
Unplug your refrigerator and turn off your RV’s batteries before touching any wires. This prevents shorts, shocks, or accidentally reversing your 12V positive and ground connections.
Step 5: Replace the Board
Remove the old power board and install your new Norcold replacement board in the same position. The new one should look nearly identical to the old one. Match each labeled connector to its corresponding terminal—one wire at a time—to ensure everything is properly reattached.
Step 6: Power Up and Test
Once everything is connected and secure, restore power to your RV and plug the fridge back in. Turn the refrigerator on and confirm that it powers up correctly and begins cooling.
Pro Tip:
Norcold replacement boards vary by model and serial number, so always double-check compatibility before ordering. Your model number tab is located inside the refrigerator on a decal on the right hand side. You can find genuine new Norcold power boards right here at RV Fridge Guys, where each listing includes model compatibility to ensure you're getting the right board the first time around.

