
14th Oct 2026
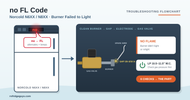
Norcold N6XX / N8XX no FL Code (Burner Failed to Light)
F / NO FL
Norcold N6XX / N8XX no FL Code (Burner Failed to Light)
The fridge tried to light the burner on propane and couldn’t, or the flame went out and wouldn’t relight. Work through the burner, the electrode gap and continuity, the gas valve and its wires, then the power board.
Before you start
- Where things are. The power board, fuses and burner are behind the lower outside vent, under a cover on the back of the fridge. The optical control (display) assembly is in the front box at the top.
- Check the gas first. The LP tank valve and the fridge’s manual gas shutoff should be open, and gas pressure at the gas valve test port should be 10.5 to 11.5 inches water column.
- Safety first. Let the burner cool before you work on it. Never use a flame to check for leaks.
- You’ll need a multimeter set to ohms, continuity and DC volts.
Fits these models
Includes 2-way and 3-way versions, plus the .3 and IM (ice maker) versions.
What you’ll see on your model
N61X / N81X (LED lights)
N62X / N82X (one-letter display)
N64X / N84X (two-part display)
PART A · BURNER & ELECTRODE
Can the spark light the flame?
STEP 1
Check the burner
Turn the fridge off, close the gas, and let the burner cool. Look at the burner and the orifice for rust, soot or debris.
Is the burner clean?
Clean the burner
Remove the burner and clean it, then wash the orifice in alcohol and let it air dry. Don’t use compressed air on a jeweled orifice. Replace the orifice if it won’t come clean.
STEP 2
Check the electrode gap
Measure the gap between the spark electrode tip and the burner.
Is it 1/8 to 3/16 inch?
Set the gap
Adjust the electrode to a 1/8 to 3/16 inch gap from the burner, then try again.
STEP 3
Test the spark/sense electrode
Disconnect the electrode wire and check the electrode assembly for continuity.
Does it have continuity?
Replace the electrode
The spark/sense electrode assembly has failed.
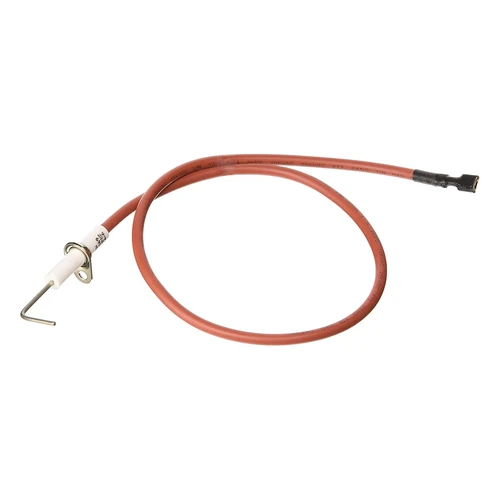 Norcold Spark / Sense Electrode 61692222 →Norcold spark/sense electrode. Confirm it matches your old part number.
PART B · GAS VALVE & POWER BOARD
The spark side is good. Is the gas valve opening?
STEP 4
Measure the gas valve solenoid
Disconnect the wires from the solenoid gas valve and measure ohms across its terminals.
Is it 79 to 85 ohms?
Replace the gas valve
The solenoid coil is out of range. See our Norcold gas solenoid valves and match your old part number.
STEP 5
Test the gas valve wires
Check each wire from the gas valve to the power board for continuity.
Do both wires have continuity?
Replace the gas valve wires
Repair or replace the broken wire, then try again.
STEP 6
Measure the power board output
Reconnect everything. Start the fridge on gas and measure DC volts across the power board’s GV and GV GND terminals while it tries to light.
Is there voltage?
Replace the power board
The board isn’t sending power to the gas valve.
 Norcold Power Board 628661 →Norcold OEM power board. Match the part number on your old board.
  Norcold Upgraded Power Board (Dinosaur) 6212XX →Aftermarket upgrade board for N6XX and N8XX models.
Replace the gas valve
The valve is getting power but gas isn’t flowing, so it’s faulty or blocked. See our Norcold gas solenoid valves.
Still stuck? ask a tech with your model, serial number and the readings you got. We’ll confirm the part before you order.
Covers the Norcold N61X, N62X, N64X, N81X, N82X and N84X families. Based on the Norcold N6XX/N8XX service manual (publication 619394E), F/no FL troubleshooting flowchart.